How to start your own website in wordpress? 100% free guide
In this
tutorial, you can learn the basic wordpress tips before you going to start a
website.
How to get a Domain Name for you? Click Here
What is WordPress? A Simple Explanation
It is basically a software that is used to create
and post blogs or websites to publish on the internet. It is also called a
Content Management System or CMS. It was created in 2003. It has grown to be
the most well-known website publishing application worldwide since its launch
in 2003. It powers 30% of websites on the internet.
WordPress is an open-source software and it is free
for the users.
With WordPress, you don’t need to know how to code
at all. Everything is done through drag and drop. There are more than 11,000 distinct
themes available, which are essentially template layouts that define the appearance
and feel of your website. Also, it gives more than 50,000 plugins to help
optimize the functionality of your website. All of the text may be altered including
the fonts and the sizes used, buttons can be made, and even you can add images
and videos and much more.
Building a WordPress website is all online. You can
build websites online from anywhere, as long as you have an internet
connection.
Instead of online, installing WordPress and a data
server to your local computer, you can start building websites locally on your
computer. But make sure to have an internet connection to download plugins and
themes. In that case, you have to export the website to an online server when
you finish it.
You may notice that there are two parties of
wordpress, wordpress.com and wordpress.org.
What is the difference between WordPress.com and WordPress.org?
What is WordPress.com
Even you can build your website free with their web hosting. But,
1. A Website could be deleted at any time if WordPress feels that you have violated its terms and conditions for any reason.
2. You can’t use ads to make money from your website. (No monetization)
3. You can’t upload plugins that help you to optimize the functionality of your website.
4. You can’t upload customizable themes.
5. You do not own your domain name. It might be yourdomainname.wordpress.com.
What is WordPress.org
You can host your website in any hosting company and use wordpress.org to build it.
1. You have access to thousands of plugins.
2. You can monetize your website with ads.
3. You can use your unique domain name.
4. You have permission to completely customize your website.
Step
Number 1
How do you log in to your WordPress dashboard?
You already have your domain name now, if not CLICK HERE to know how to register a domain name/website name for you and how to get a website host.
In your web
browser, type your domain name in the address bar. After typing your domain
name, then type /wp-admin.

Then you
will get a login window like below.

Type the
Username or Email Address that you created before when you installed WordPress into your hosting panel.
Then type ->
Password.
Then Click ->
Log In
When you
complete your login process, you will be able to see the WordPress Dashboard like below.

Step
Number 2
How to install
a theme for your website?
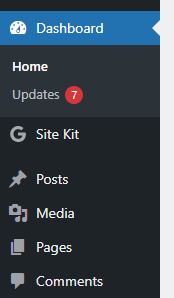
On your
left menu, beginning from ‘Dashboard’ there is an item called ‘Appearance’.
Move your cursor to Appearance and then Appearance’s sub
menu will appear.

Then click
on Themes.
You can see
the default themes on your window.

You have two options,
1. Select a default theme or
2. You can add a new theme to your website.
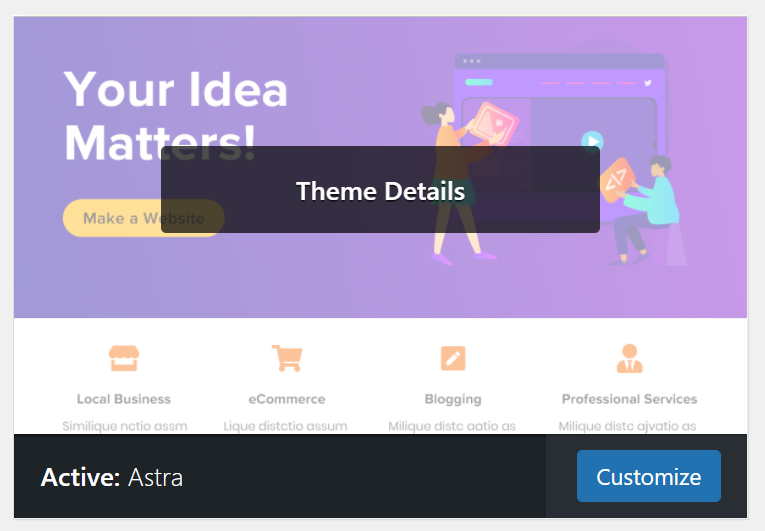
When you
click on the ‘Add New Theme’ button, you will see new themes compatible
with your website.

When you
move your cursor into a theme, it will appear the ‘Activate’ and ‘Live
Preview’ buttons.

You can see
a live preview of the selected theme or simply you can activate the theme by
clicking on the ‘Activate’ button.
When you have done the process properly, a Green ‘Installed’ label will appear.

Then you
can customize the theme that you activated.
Step
Number 3
How you can
create a Page on WordPress?
On your
left menu, beginning from ‘Dashboard’ there is an item called ‘Pages’.
Move your
cursor to the Pages and then Page’s sub menu will appear.

Then click
on -> Add New
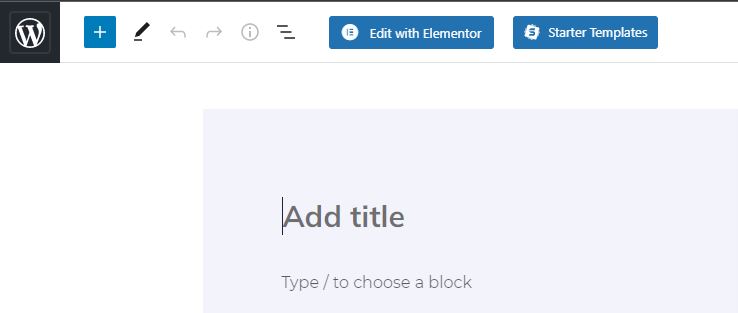
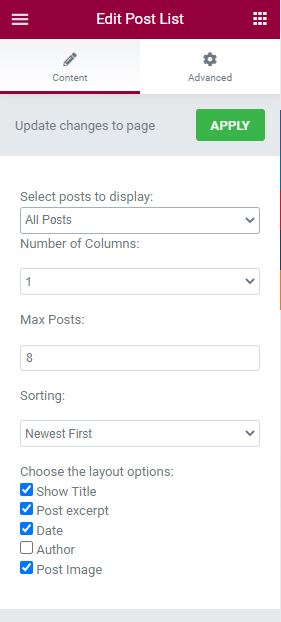
You can see
the default Page builder window.
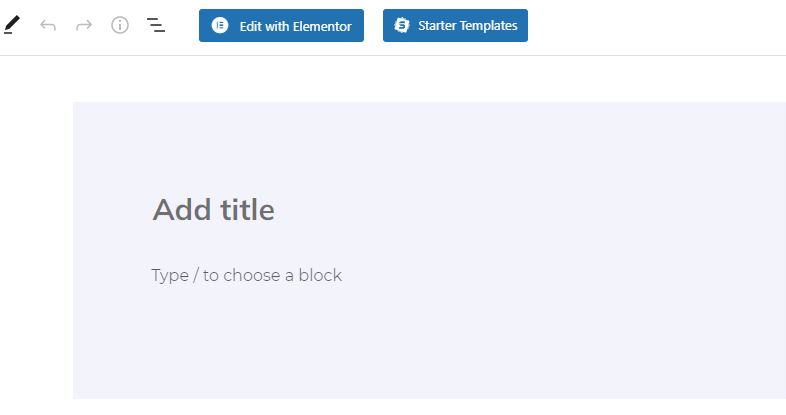
Now you can
add content for the page.
Then click
on -> Publish

Hint:
If
you can add the Elementor Plugin to your website, all the customization processes
will be easy.
How
to add the Elementor Plugin to your website? Elementor Full Guide CLICK HERE
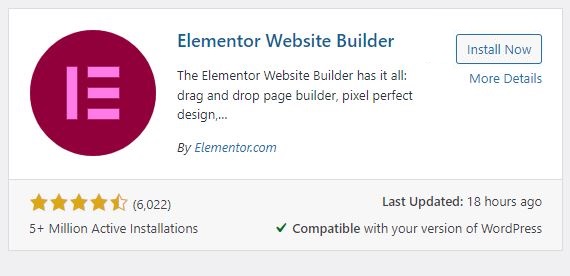
Simply
go to the Plugins on your left menu.

Then
Click -> Add New
Type
-> ‘Elementor’ on the Search Plugins… Text Area On your right side.


Then
Click on -> Install Now
Then Click
on-> Activate
Step
Number 04
How you can
create a Post on WordPress?
On your
left menu, beginning from Dashboard there is an item called Posts.

Move your
cursor to the Posts and then Post’s sub menu will appear.
Then click
on -> Add New
You can
create and publish posts similar to Pages.
Step
Number 05
How to add
Users/Admins to your website?
Move to the
Users on the left side of your WordPress menu.

Then click
-> Users
Click ->
Add New

Then provide the required
1. Username
2. Email
3. First Name
4. Last Name
5. Website (Optional)
6. Password
7. Select the role – Subscriber or Administrator …
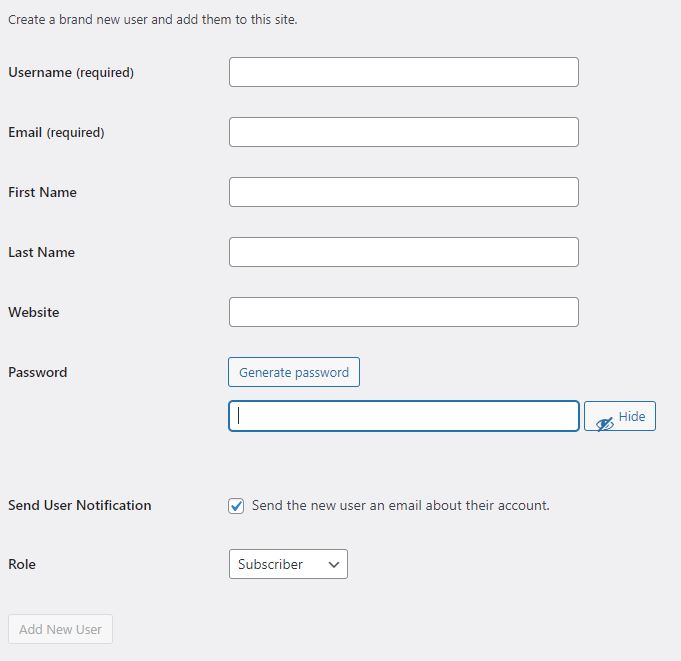
Then Click
-> Add New User
After
Adding a User to the website, the verification e-mail will be sent to the
provided e-mail address.
Then verify
the process.
A new user can log in to the admin panel of the website at any time by providing the username (usually the email address) and the password provided, when you create the new user.
As same as Step Number 1.


.jpg)


